How to Pack a Box for Shipping: A Complete Step by Step Guide
Packages travel through conveyor belts, sorting machines, trucks and delivery vans, and they get stacked, tipped and dropped along the way. A box that looks fine on your kitchen table can arrive crushed, open or rattling with broken pieces. Most damage is not bad luck. It comes from a few predictable packing mistakes.
This guide gives you a complete, repeatable method for packing any parcel: choosing the box, preparing the item, cushioning, sealing, labeling and testing. Follow these steps and your packages will arrive in better shape, cost less to ship and be easier to claim on if something does go wrong.
Gather the right supplies first
Starting with the right materials makes everything else easier. Before you pack, have these on hand:
- A new or like-new corrugated box. Rigid, dry, with all flaps intact and no punctures.
- Pressure-sensitive packing tape about 2 inches wide or wider. Avoid masking tape, duct tape and cellophane tape for sealing.
- Cushioning: bubble wrap, packing paper, air pillows or foam, depending on the item.
- Void fill to stop items moving, such as crumpled paper or air pillows.
- A tape measure and a scale for accurate dimensions and weight.
- A marker and a label pouch or clear tape for the shipping label.
Step 1: Choose the right box
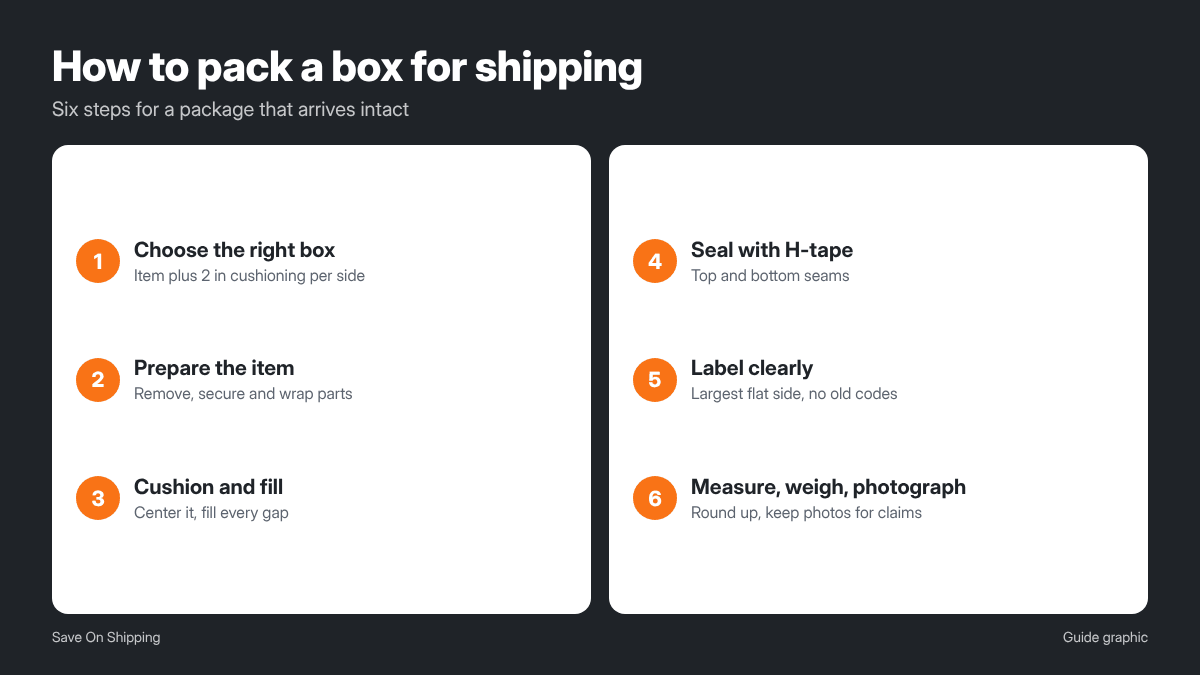
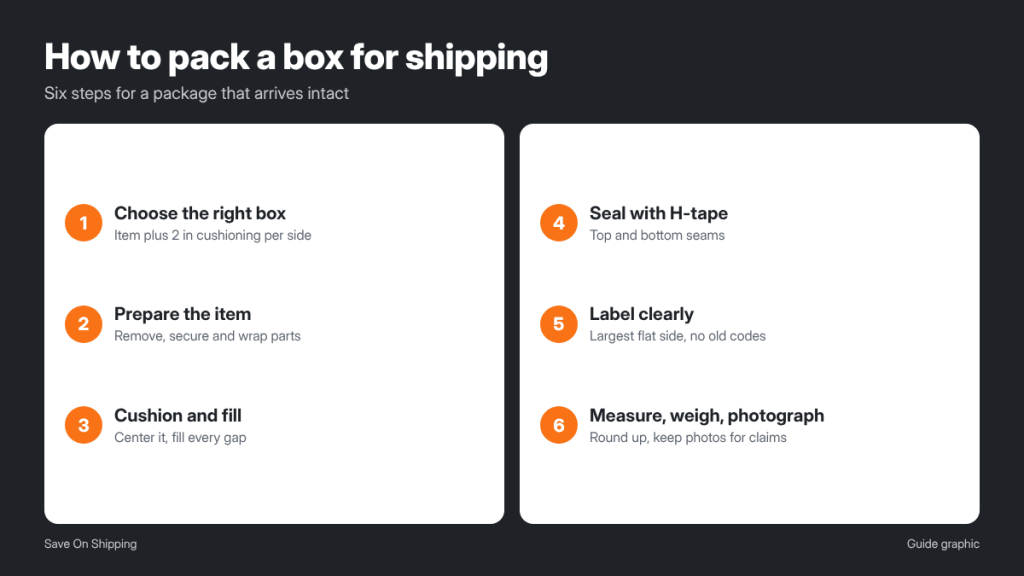
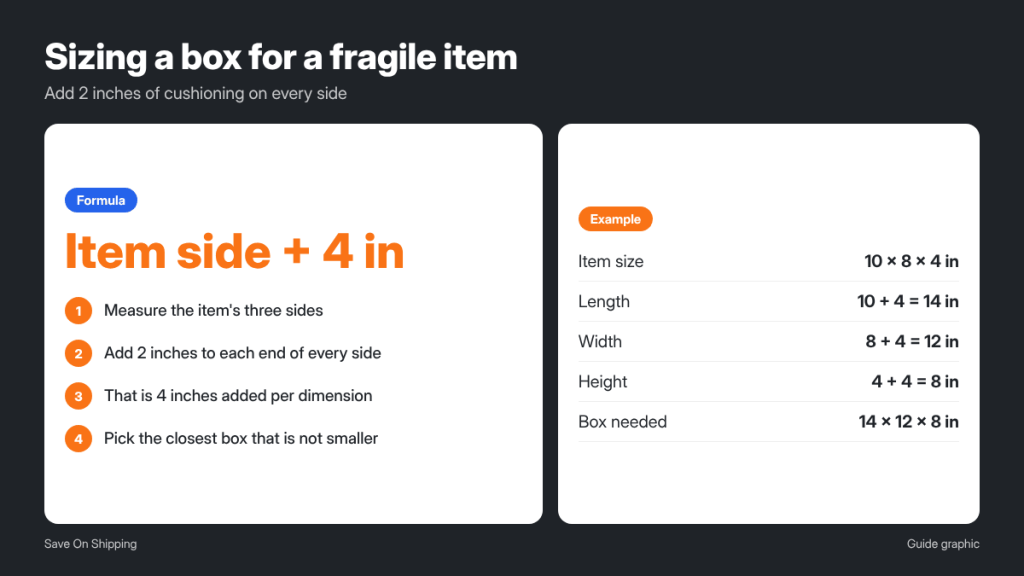
The ideal box is big enough to fit the item plus cushioning on every side, and no bigger. Too small, and the item presses against the walls where impacts hit hardest. Too large, and you pay for extra dimensional weight while the item has room to shift.
A practical rule for fragile items is about 2 inches of cushioning on every side. So for an item measuring 10 x 8 x 4 inches, you need a box with inside dimensions of roughly 14 x 12 x 8 inches. Each side adds 2 inches on both ends: 10 + 4 = 14, 8 + 4 = 12, and 4 + 4 = 8.
For sturdy items like clothing or books, you can use a snugger box with less cushioning. Check the box maker’s certificate printed on the bottom flap of many boxes, which shows the box’s strength rating and weight limit.
Step 2: Prepare the item
- Remove batteries from devices where possible and pack them according to carrier rules.
- Disassemble parts that can break off, such as lamp shades, legs or handles, and wrap each separately.
- Secure moving parts. Tape drawers, doors and lids closed with painter’s tape so they do not swing open.
- Protect surfaces. Wrap screens, glass and polished finishes in a soft layer first, then add cushioning on top.
- Bag small parts like screws and cables, label the bag and tape it to the main item or place it in the box.
- Seal liquids in a leak-proof bag with absorbent material.
Step 3: Cushion and fill
Cushioning absorbs shock. Void fill stops movement. You need both.
- Line the bottom. Place a layer of cushioning about 2 inches deep on the bottom of the box.
- Wrap the item. Wrap fragile items individually in bubble wrap or foam, taping the wrap so it stays in place.
- Center the item. Place it in the middle of the box, away from all walls.
- Fill the sides. Pack cushioning or void fill around all sides until the item cannot move.
- Top it off. Add a final layer on top so the flaps close flat without bulging.
The shake test
Close the flaps without taping and gently shake the box. If you hear or feel anything shift, add more fill. A well-packed box feels solid, with no rattling.
Multiple items in one box
Wrap each item separately and keep them from touching. Place heavier items at the bottom and lighter items on top. Use cardboard dividers or extra layers of cushioning between items that could knock together.
When to double-box
For very fragile or valuable items, pack the item in a smaller box first, then place that box inside a larger one with at least 2 inches of cushioning between the two boxes on every side. The outer box absorbs impacts before they reach the inner one.
Step 4: Seal the box properly
Tape is often where packages fail. Use the H-tape method on both the top and bottom of the box:
- Run one strip of tape along the center seam where the flaps meet.
- Run one strip across each edge seam on both ends, forming an H shape.
- For heavy boxes, add a second strip along the center seam.
- Press tape firmly so it bonds fully to the cardboard.
Do not wrap the box in string, rope or paper. These can catch in sorting equipment. Avoid over-taping the whole box, which can make it hard to read labels and adds nothing to strength.
Step 5: Label, measure and document
Label it clearly
- Place the shipping label on the largest flat surface, usually the top, away from seams and edges.
- Remove or completely cover old labels and barcodes on reused boxes.
- Make sure the barcode is flat, unwrinkled and fully visible.
- Put a copy of the delivery and return addresses inside the box, in case the outside label is damaged.
- Add handling labels like “Fragile” if useful, but do not rely on them. Packing is what protects the item.
Measure, weigh and take photos
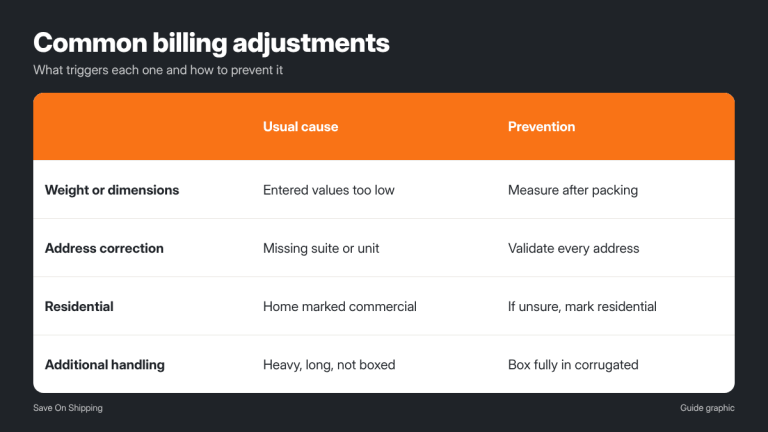
Once the box is sealed, measure it at its widest points, including any bulges, and round each side up to the next whole inch. Weigh it and round up to the next pound. These numbers determine your price, and entering them accurately avoids billing adjustments later.
Then take a couple of quick photos: one of the item packed in the open box, and one of the sealed box. If the package is damaged in transit, these photos help show it was packed properly, which strengthens any claim.
Packing tips for common item types
The six steps work for nearly everything, but a few item types need extra attention:
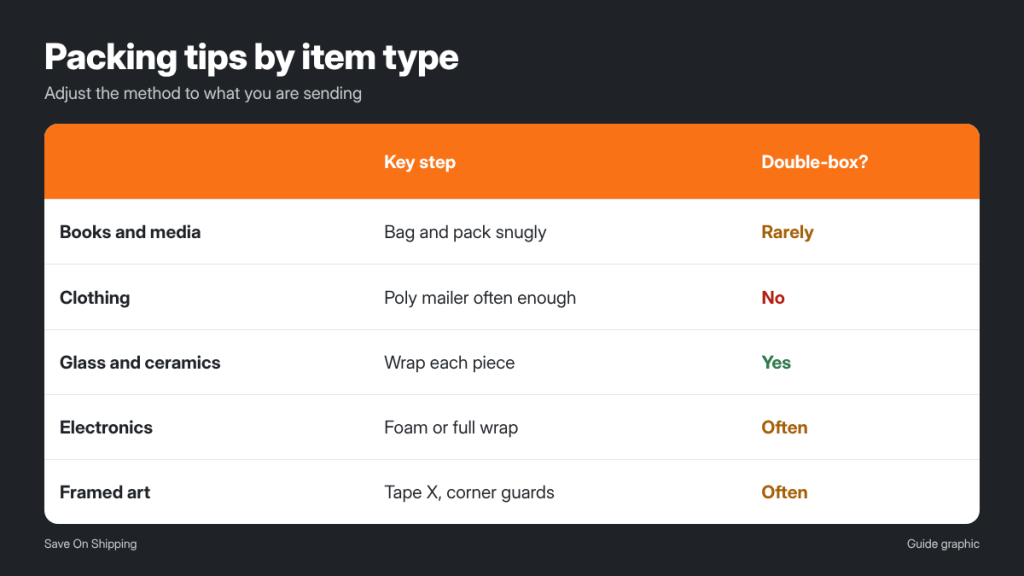
- Books and media: wrap in a plastic bag to guard against moisture, pack snugly so they cannot slide, and keep boxes small, since books get heavy fast.
- Clothing and soft goods: fold neatly and seal in a plastic bag. A poly mailer is often enough, and it avoids paying for a box full of air.
- Glassware and ceramics: wrap each piece separately, fill hollow spaces like the inside of a mug with paper, and use the box-in-box method.
- Electronics: use the original foam inserts if you have them. If not, wrap in an anti-static bag, then bubble wrap, and fill all space around it.
- Framed art and mirrors: put painter’s tape in an X across the glass, add corner protectors, and sandwich the piece between sheets of cardboard before boxing.
- Heavy items: use a double wall box, reinforce the bottom with extra tape, and choose a box size that leaves little unsupported space.
Common packing mistakes to avoid
- Using a weak or worn-out box. Reused boxes lose strength each trip.
- Leaving empty space. Items that move inside the box break.
- Letting items touch the walls. Impacts transfer directly to anything against the side.
- Using the wrong tape. Masking tape and cellophane tape do not hold under stress.
- Overstuffing. A bulging box is weaker, measures larger and costs more.
- Shipping in a retail product box alone. Thin display boxes are not built for shipping networks.
Frequently asked questions
How much cushioning do I need?
For fragile items, aim for about 2 inches on every side. For sturdy, non-breakable items, enough fill to stop movement is usually sufficient.
Can I reuse an old shipping box?
You can if it is rigid, dry and undamaged, with all flaps intact. Remove or cover every old label and barcode before you ship.
Is packing tape over the label okay?
Clear tape laid flat over a label is generally fine, but avoid wrinkles, bubbles or glare over the barcode. A label pouch is a good alternative.
Should I mark the box fragile?
You can, but handling labels do not guarantee special treatment in automated networks. Proper cushioning is what keeps the item safe.
Would you rather have it packed for you?
Bring the item to The Postal Spot, a UPS Authorized Shipping Outlet in Houston, and the staff can box it, cushion it and ship it with UPS, FedEx or USPS.